
If you know about ASP.NET, you probably already know the concept and implementation of the Web.config file.
In this article, I'm going to show you how to do some basic customization in an ASP.NET Web Form Application by using the Web.config file.
NOTE: Web Form is probably considered a legacy technology by now, so we should try to adapt to modern models whenever it's possible.
First, let's set the scope on which things we can make customizable. A few things come to my mind, such as:
1. Page Title
2. Page Image and Introduction
3. Database Driven Content
4. Page Restriction and Routing
5. Timeout Settings6. Other Stuff
But before we start to embed the capability of customizable elements, we should create a simple Web Form Web Application in Visual Studio.
Once it's done, you should see some basic files being created, such as:
- About.aspx
- Contact.aspx
- Default.aspx
- Site.Master
- Web.config
Let's customize it!
To make things customizable, we should put the settings in a central place that can be easily accessed by the web application itself. By using ASP.NET as the platform, the thing we need to think about is the Web.config file, where we can configure how the Web Application behaves.
1. Page Title
If you open the Default.aspx file, you will find that the first line(s) of code looks like the following:
<%@ [mark]Page Title="Home Page"[/mark] Language="C#" MasterPageFile="~/Site.Master" AutoEventWireup="true" CodeBehind="Default.aspx.cs" Inherits="C_WebApp._Default" %>It's a common Web Form project where we are using a Site Master template created by Visual Studio (if we selected this option).
It's obvious that the Page Title will be rendered as "Home Page" as per the above settings.
However, as you can see, there is some extra text being displayed after the text "Home Page". In fact, we need not worry about this as the additional text is coming from Site.Master.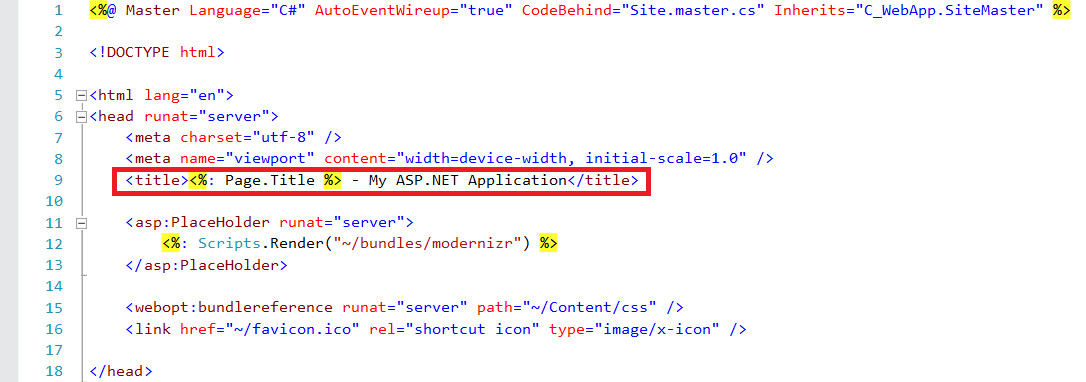
Of course, this can be customized to whatever text we want.
To start doing that, first, we can create an appSetting entry in Web.config:
<?xml version="1.0" encoding="utf-8"?>
<configuration>
  <appSettings>
    <add key="PageTile" value="My Web Site 1" />
  </appSettings>
</configuration>
And then to read the appSetting entry and set the Page Tile, we could try:
protected void Page_Load(object sender, EventArgs e)
        {
            String PageTitle = System.Configuration.ConfigurationManager.AppSettings["PageTile"];
            Page.Title = PageTitle;
        }
The rendered output shows the exact appSetting entry's value in Web.config.
2. Page Image and Introduction
It would be the same scenario if we wanted to customize the Page Image, and perhaps change some wording for the Introduction, or any other text content within the page.
To do that, let's create another 2 appSetting entries in Web.config:
<appSettings>
<add key="PageTile" value="My Web Site 1" />
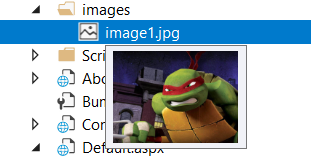
<add key="PageImage" value="images/image1.jpg" />
<add key="IntroductionContent" value="This is my Introduction Content" />
</appSettings>Make sure you are pointing to a valid image file.
 (image copied from Internet)
To be able to display the corresponding image and introduction content, we need to add an Image and Label control.
<form id="form_id" method="post">
        <asp:Image ID="Image1" runat="server" />
        <asp:Label ID="Label1" runat="server" Text="Label"></asp:Label>
    </form>
And then we would have the following code:
protected void Page_Load(object sender, EventArgs e)
        {
            String PageTitle = System.Configuration.ConfigurationManager.AppSettings["PageTile"];
            Page.Title = PageTitle;

            String PageImage = System.Configuration.ConfigurationManager.AppSettings["PageImage"];
            Image1.ImageUrl = PageImage;

            String IntroductionContent = System.Configuration.ConfigurationManager.AppSettings["IntroductionContent"];
            Label1.Text = IntroductionContent;
        }
Finally, when we compile our code, this would be the output:
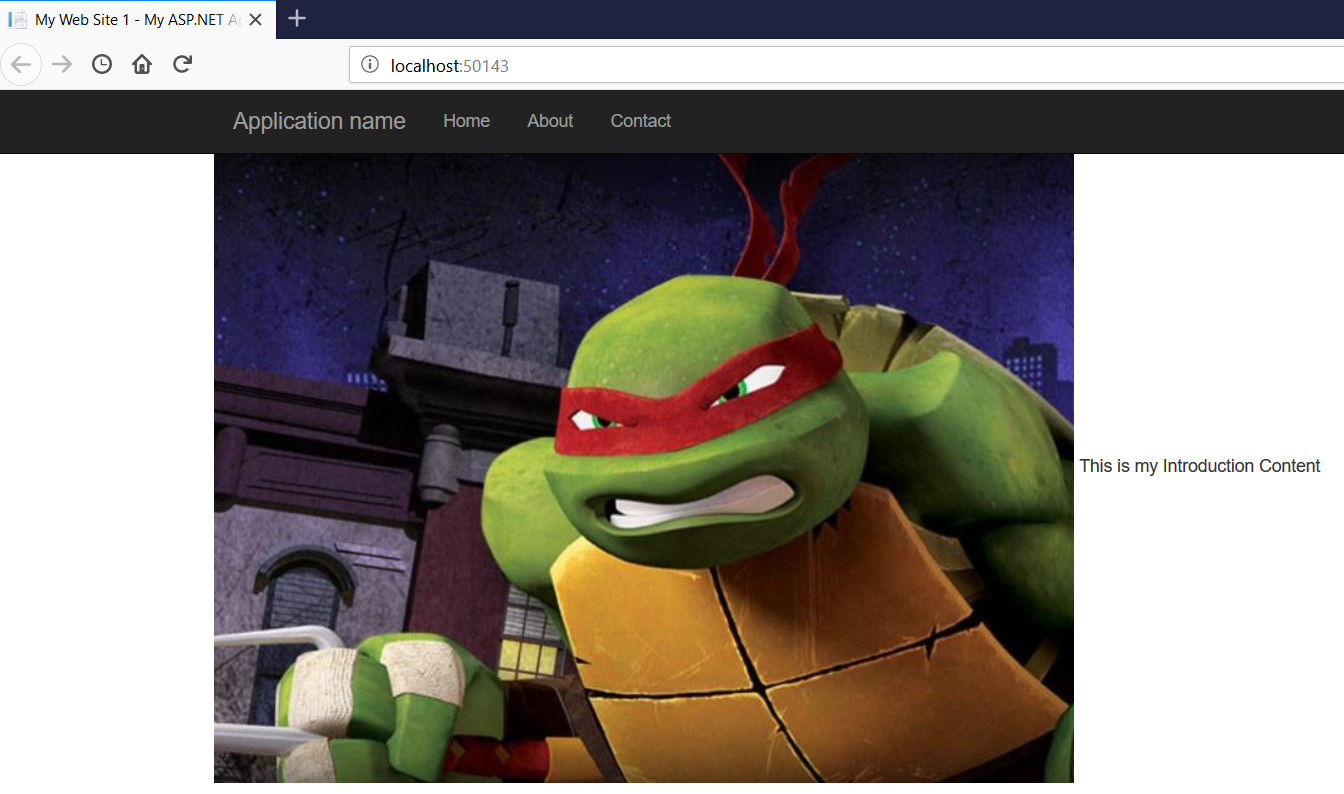
So far so good!
3. Back-end Content
Let's change that a bit so that the Introduction Content is read from a back-end database.
To do that, we again need to add some settings in Web.config, but this time we will add a connectionStrings entry.
Let's say we are connecting to a SQL Server, we will come out with something like this in Web.config:
<?xml version="1.0" encoding="utf-8"?>
<configuration>
<appSettings>
    <add key="PageTile" value="My Web Site 1" />
    <add key="PageImage" value="images/image1.jpg" />
    <add key="IntroductionContent" value="This is my Introduction Content" />
  </appSettings>

  <connectionStrings>
    <add name="conn" connectionString="Data Source=ServerIP;Initial Catalog=YourDatabaseName;Persist Security Info=True;User ID=yourUserID;Password=yourPassword" providerName="System.Data.SqlClient" />
  </connectionStrings>
</configuration>
Let's say we got a Database named as YourDatabaseName, we can define the table with Introduction Content as follows:
CREATE TABLE [dbo].[GeneralContent](
    [ID] [int] IDENTITY(1,1) NOT NULL,
    [Tag] [varchar](20) NULL,
    [Note] [nvarchar](MAX) NULL,
 CONSTRAINT [PK_GeneralContent] PRIMARY KEY CLUSTERED
(
    [ID] ASC
)WITH (PAD_INDEX = OFF, STATISTICS_NORECOMPUTE = OFF, IGNORE_DUP_KEY = OFF, ALLOW_ROW_LOCKS = ON, ALLOW_PAGE_LOCKS = ON) ON [PRIMARY]
) ON [PRIMARY]
GO
And use the following scripts to create a default record for Introduction Content:
Insert into GeneralContent
(Tag, Note)
values
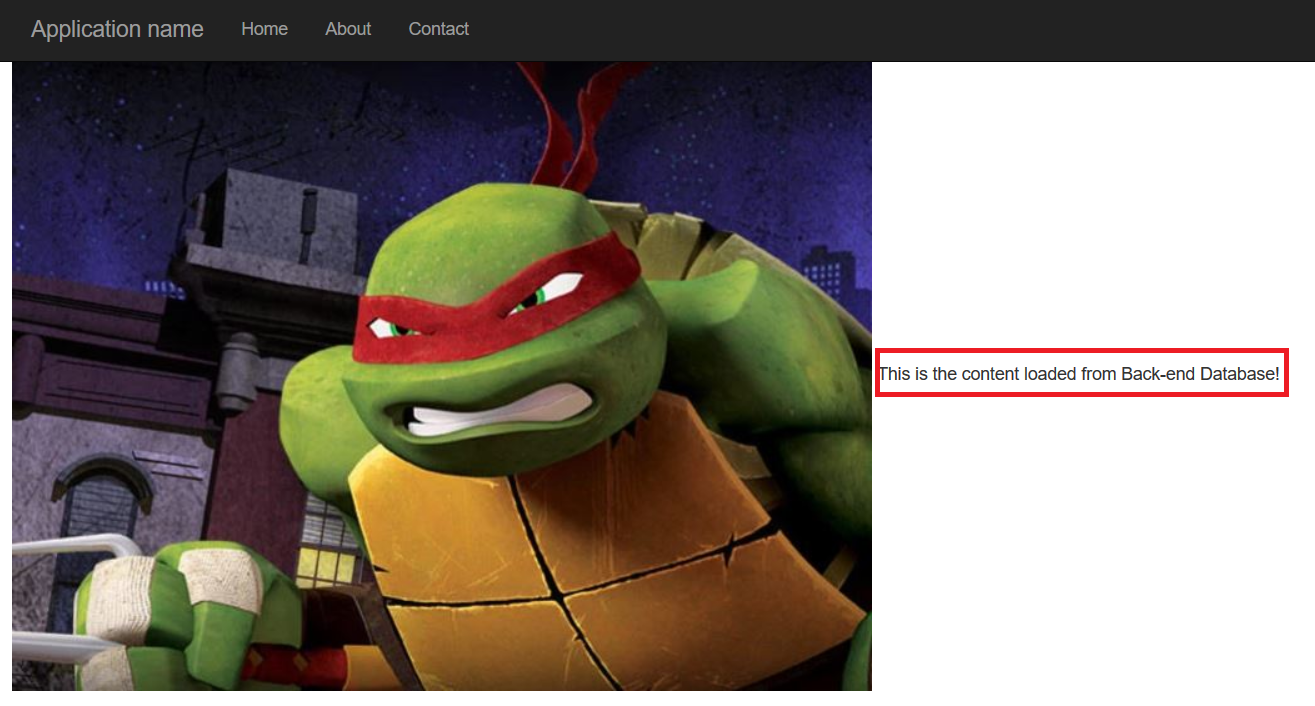
('intro', 'This is the content loaded from Back-end Database!');To load this record to the ASP.NET front end, we need to establish the connection using code and then retrieve the record content accordingly.
String IntroductionContent = "";

            String connString = System.Configuration.ConfigurationManager.ConnectionStrings["conn"].ConnectionString;
            using (SqlConnection conn = new SqlConnection(connString))
            {
                conn.Open();
                using (SqlCommand cmd = new SqlCommand("Select * from GeneralContent where tag = 'intro' ", conn))
                using (SqlDataReader r = cmd.ExecuteReader())
                {
                    while (r.Read())
                    {
                        IntroductionContent = r.GetString(r.GetOrdinal("Note"));
                    }
                }
            }
            Label1.Text = IntroductionContent;
And if we rebuild our ASP.NET solution, we should get this in the Default.aspx
The same concept can be applied to whatever content we wish to display or replace.
4. Page Restriction and Routing
HOW TO: Control Authorization Permissions in an ASP.NET Application
Setting authorization rules for a particular page or folder in web.config
5. Timeout Settings
In general, we can have the flexibility to set the page(s) execution timeout or session timeout in web.config.
For example, we can refer to the following online article (with some other timeout considerations)
How to increase timeout for your ASP.NET Application?
6. Other Stuff
By applying the same settings concepts in Web.config, we can evolve and develop modules such as:
- User Feedback / Contact Us Form
To customize fields to be displayed and the recipients - Colour Themes
We don't need to reinvent the wheel. Simply look for web templates available that support layout and theme settings and apply them to the Web Form Web Application.
For example, we could obtain or purchase a website template from the following websites:
https://themeforest.net/category/site-templates
https://html5up.net/
The setting could be in some .js files that the template provides or we can even put these settings into Web.config, which technically can also be done.
Useful tutorials:
ASP.NET overview
https://docs.microsoft.com/en-us/aspnet/overview
What is Web Forms
https://docs.microsoft.com/en-us/aspnet/web-forms/what-is-web-forms

Have a question about something in this article? You can receive help directly from the article author. Sign up for a free trial to get started.
Comments (0)