How to use the new Select Object tool in Adobe Photoshop 2020
Posted on
9,097 Points
11:57
 Bob Flisser
Bob Flisser has authored many courses and books about Microsoft, Adobe and Apple products, and has been a computer trainer since the 1980s.
Introduced in Adobe Photoshop Creative Cloud 2020, the Select Object tool can make quick work of selecting the foreground of an image. In this video and written tutorial, we look at several ways of using it. To follow along, download the kayak and rocks.jpg file or use your own image.
Video Steps
01. Finding the tool
Press and hold the 4th tool down on the toolbar to reveal the flyout, then choose the Select Object tool. This is the tool group that also contains the Magic Wand and Quick Select tools.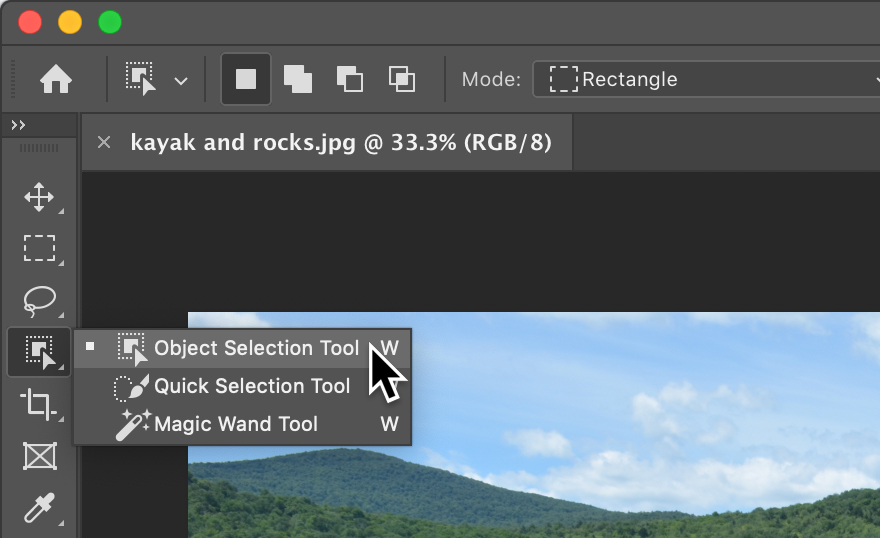
02. Rectangular selection
The Control Panel on top of the screen has context-sensitive options. By default, the selection mode is set to Rectangle, so try that first.
Draw a rectangle around the kayak.
03. Lasso selection
On the Control Panel, click the Mode drop-down and choose Lasso.
04. Draw the selection
Now draw a selection around the kayak. Don't try to select it perfectly. Just draw a rough selection around it including some of the beach and water. But do try to draw through the shadow and through the large rocks. That tells Photoshop you don't want them in the selection.The resulting selection may or may not be the same as with the rectangle. Again, you can use other selection methods and tools to refine the selection. For now, deselect everything.
05. One-click selection
Another way to use the tool is with a single click. Just click the Select Subject button on the right side of the Control Panel. The resulting selection may or may not be different.06. One-click selection
The final way of using the tool is with masking. Again, deselect everything.
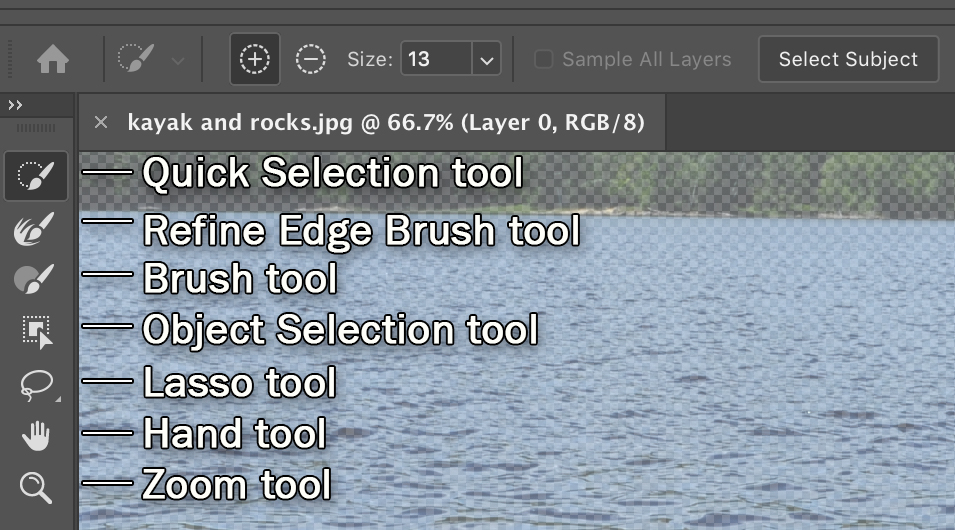
On the right side of the Control Panel, click the Select and Mask button. This displays a selection window with refinement tools. On top is small Control Panel and on the left are tools to brush the mask on and off. And yes, there is an Object Selection tool here!
07. Creating a mask
The image starts with everything masked, so click the Select Subject button on top. The kayak becomes selected and the rocks may be selected, also. Use the tools on the left to brush the mask on or off, and use the refinement sliders in the Properties panel on the right for small tweaks.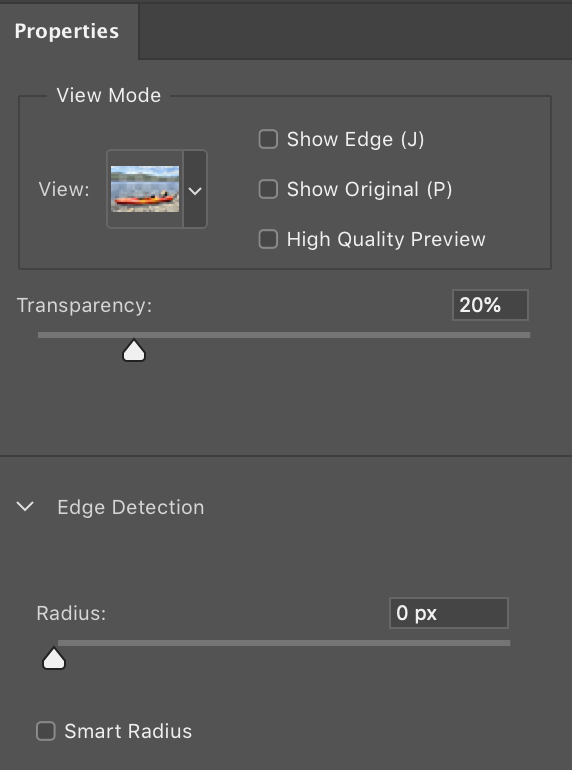
08. Applying the mask
When you're done, you need to apply the mask and output the selection. In the Properties panel, scroll down to the bottom and open the Output To drop-down list. The choices are suitable for whether you need to make further refinements or not.
09. Viewing the final product
Choose an option and click OK. You will then see the silhouetted subject on a blank layer.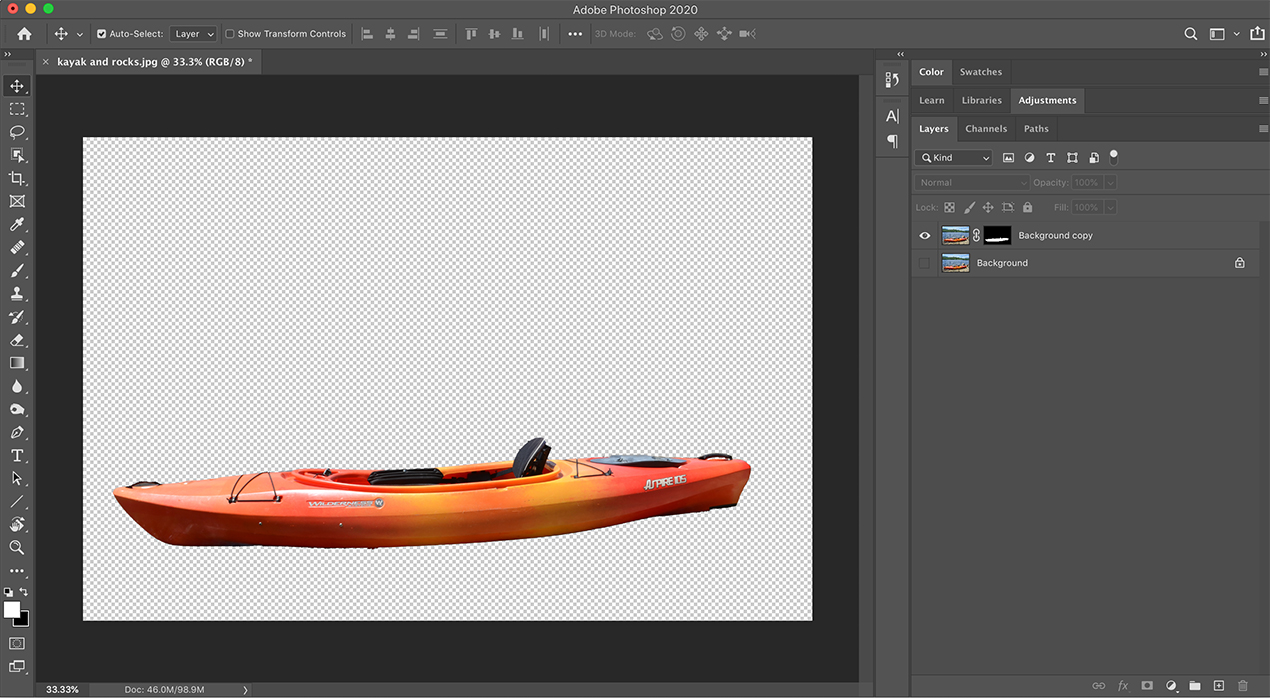
0 Comments
Suggested Videos

Read about why website design really matters in today's demanding market.

The Summer 2017 Scholarship Winners have been announced!
Suggested Courses


Next Video:Creating an Image Sprite